Hey, security enthusiasts!👋
In today’s connected world, security testing is more important than ever. Whether you’re safeguarding a small website or a large corporate network, security testing ensures that systems are safe from threats, protecting sensitive information from hackers and malicious attacks. This guide explores the fundamentals of security testing, including why it’s essential and how to use OWASP ZAP—one of the most popular tools in this field. By the end, you’ll be equipped with the knowledge to enhance your application’s security. Let’s dive into a world where staying one step ahead makes all the difference.
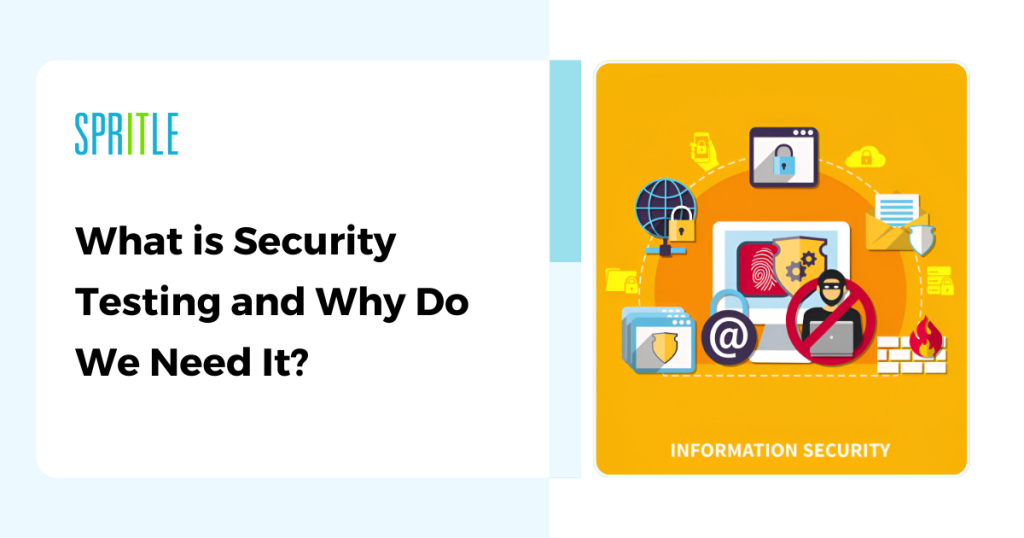
What is Security Testing and Why Do We Need It?
Security testing is a process used to evaluate the strength and reliability of an application’s defenses. As cyber threats grow more advanced, security testing offers peace of mind by identifying vulnerabilities before they can be exploited.
Through security testing, businesses can:
- Protect sensitive information.
- Maintain customer trust and uphold your business reputation.
- Meet regulatory compliance standards.
From small businesses to large enterprises, security testing is vital for keeping systems protected and resilient against attacks.
Introducing OWASP ZAP: Your Essential Security Testing Tool
Major Features of OWASP ZAP
OWASP ZAP (Zed Attack Proxy) is an open-source security testing tool that enables users to identify vulnerabilities in web applications. It helps detect issues such as SQL injection, cross-site scripting (XSS), and other common security risks. With its user-friendly interface and powerful automation capabilities, OWASP ZAP is suitable for both beginners and security experts.
- Spider: The Spider tool discovers all links and sublinks on a page, allowing you to view the full structure of the website you are testing.
- Passive Scan: This tool automatically detects some vulnerabilities as you browse through the application without modifying the data.
- Active Scan: An advanced version of Passive Scan, this feature actively interacts with the application to uncover deeper vulnerabilities. Note: Always ensure you have permission before conducting an active scan.
- Fuzzing: Fuzzing identifies vulnerabilities that scanners might miss by testing application inputs with unexpected data
- Reports and Extensions: ZAP allows users to generate detailed reports of scan results and offers various extensions to enhance testing capabilities
Understanding the Intercepting Proxy
An intercepting proxy inspects and intercepts traffic between a client (such as a browser) and a server. Acting as a middle layer, it captures and can modify data exchanges in real time.
- Browser ↔ OWASP ZAP ↔ Web Application
This setup enables testers to observe, intercept, and analyze data, offering critical insights into application security.


Dynamic SSL Certificates in Security Testing
For testing HTTPS traffic, OWASP ZAP supports dynamic SSL certificates. By creating and using root SSL certificates, ZAP can intercept and decrypt secure HTTPS communications between the client and the server, enabling comprehensive testing of encrypted data without compromising security.Basic Concepts: SSL and TSL
Understanding these key security terms is essential:
- SSL (Secure Sockets Layer) and TLS (Transport Layer Security): These protocols encrypt data transmitted between servers over HTTPS, safeguarding it from eavesdropping or tampering.
- HTTPS Interception: This process allows proxy servers to decrypt and inspect data during testing, ensuring security compliance.
Configuring OWASP ZAP for Effective Testing
Setting Up Your Application for Security Testing
- Launch ZAP: Open the OWASP ZAP application on your machine.
- Save the Certificate: Navigate to Options > Network > Server Certificates and save the SSL certificate.
- Configure the Browser: In your browser (e.g., Firefox), import the saved certificate to ensure that ZAP can intercept secure traffic.
Proxy Configuration in Firefox
- Access Network Settings: Open Firefox and navigate to Settings > Network Settings.
- Set Proxy Details: Enter localhost as the HTTP Proxy and 8080 as the port (ZAP’s default settings).
- Save and Start Testing: Apply the settings to begin routing traffic through ZAP.
Proy Web traffic using ZAP Application:
- Open Firefox Browser: Launch the Firefox browser on your computer.
- Access Network Settings: Click the menu button (three horizontal lines in the top-right corner) and select Settings. Scroll down and click on Network Settings at the bottom.
- Select Manual Proxy Configuration: In the Network Settings window, choose the Manual Proxy Configuration option.
- Enter Proxy Details: Under the “HTTP Proxy” section, type localhost in the address field and 8080 in the port field (this port number can be found in the footer bar of the ZAP application).
- Save Changes: Click the OK button to apply the proxy settings.
Initial Scanning and Exploring with ZAP
After configuring ZAP and your browser, you can begin the scanning process:
- Initial Scanning: Visit any website, and ZAP will display results in the History and Site Bar, tracking all visited pages.
- Intercepting Requests: ZAP allows you to intercept, pause, and step through requests for closer inspection, enabling you to control the flow of data between the client and the server.
Intercepting Requests with ZAP:
- Open the ZAP Application: Launch the ZAP application on your machine.
- View Links and Messages in ZAP: Enter the address of a webpage to initiate scanning. You should start seeing the links and messages from your browser activity within the ZAP app (e.g., the webpage’s API requests).
- Pause the Request in ZAP: In ZAP, click the green globe button labeled “ZAP,” located at the top-right corner. This will stop the request from being sent, preventing the browser from proceeding to the next page.
- Step Through the Request: Click the blue button (Submit and step to the next response), followed by the second blue button (Next and continue).
- Resume the Response: After clicking the second blue button, you can resume the response, allowing the website to start loading again.
- Stopping and Resuming the Response: By stopping and resuming the response of the web server page, you can control the flow of requests and test how the application handles various states.
Manual Exploration and Vulnerability Assessment
- Manual Explore: Start with the Manual Explore option in ZAP to interactively explore the application.
- Spidering a Website: The Spider tool automates link discovery, thoroughly mapping the site by following hyperlinks and analyzing HTML pages. This process helps uncover hidden or deep resources within the application.
Query Parameter Handling in Spidering
The Spider tool can handle URL parameters in multiple ways:
- Ignore Parameters: If you want ZAP to treat certain parameters as the same, it can avoid revisiting pages with minor parameter changes.
- Consider Parameters: ZAP can treat each unique parameter as a new page, exploring different URL variations for a more exhaustive scan.
Automated Scanning and Vulnerability Assessment
OWASP ZAP’s Automated Scan option provides efficient and comprehensive scanning:
- Spidering and Active Scanning: Initiates a Spider scan, followed by an Active Scan, to identify deeper vulnerabilities.
- Report Generation: After scanning, generate a detailed report in formats like HTML or PDF, and prioritize alerts based on their severity.
Contexts, Scope, and Session Management
Contexts and Scopes in ZAP
- Contexts: Define specific URLs or application sections to focus on.
- Scopes: Determine the URLs actively targeted for scanning. These can be filtered in the interface to focus on relevant resources.
Session Management
ZAP’s session management saves work progress to local databases, allowing you to access and resume your sessions at any time. Regularly saving sessions helps ensure you don’t lose data and enables historical comparisons using features like report comparisons.
Rules, Policies, and Attack Modes in ZAP
Passive and Active Scan Rules
- Passive Scanning: Automatically runs in the background, analyzing HTTP requests and responses without manual intervention.
- Active Scanning: Actively attacks the application to uncover more severe vulnerabilities, such as code injection or information leakage.
Attack Mode
ZAP’s Attack Mode continuously tests all in-scope URLs, providing a real-time approach to identifying vulnerabilities as you navigate the site.


Conclusion: Securing Applications with ZAP
In conclusion, securing an application requires a combination of automated and manual testing. Tools like OWASP ZAP play a crucial role in identifying common vulnerabilities, but logical flaws and complex security issues still require human oversight. As you delve into security testing, always ensure proper authorization before conducting tests and tailor scan policies to meet the specific needs of the application.
By implementing thorough security testing practices with OWASP ZAP, you can proactively defend your applications, protect sensitive data, and foster trust with your users.


